Author: Alida Metcalf

Esta narrativa mostra o passo a passo para criar, editar, salvar e publicar sua própria narrativa sobre o Rio de Janeiro. Ela foi criada para os workshops oferecidos no Instituto Pereira Passos e nas universidades UFRRJ, UniRIo e IESP-UERJ, em outubro de 2025. Para mais informações, veja o link da apresentação: https://docs.google.com/presentation/d/132WzRQXJOHwXMJVDkX-4NyUyCGEmayafe5c_5bJbAXQ/edit?usp=sharing
This narrative provides step-by-step instructions for creating, editing, saving, and publishing your own narrative about Rio de Janeiro. It was developed for the workshops offered at the Pereira Passos Institute and at UFRRJ, UniRIo, and IESP-UERJ in October 2025. For more information in Portuguese, see the presentation link:
https://docs.google.com/presentation/d/132WzRQXJOHwXMJVDkX-4NyUyCGEmayafe5c_5bJbAXQ/edit?usp=sharing
Faça seu login
Abra Narrativas
Selecione Editar
Create your account
Open Narratives
Select Editor
O imagineRio Narrativas funciona como uma apresentação do PowerPoint ou do GoogleSlides. Você criará cartões, escreverá seu texto nos cartões, carregará imagens nos cartões, oferecerá links nos cartões, etc.
imagineRio Narrativas works like a PowerPoint or Google Slides presentation. You'll create cards, write text on them, upload images to them, add links to them, and so on.
Cada cartão aparece sobre um mapa do Rio de Janeiro que você configurará para ajudar a contar sua história.
Each card appears on a map of Rio de Janeiro that you will annotate so that it will help you to tell your story.
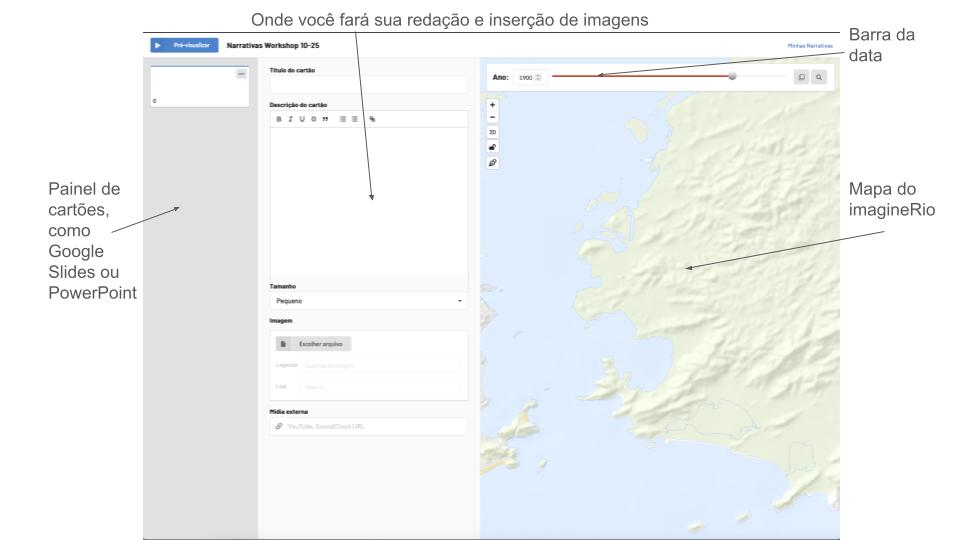
No editor, há três painéis, um com os seus cartões, um com seu texto e imagens, e o terceiro com o mapa.
In the editor, there are three panels: the left panel has your cards, the central panel has your text and images, and a right panel has your map.
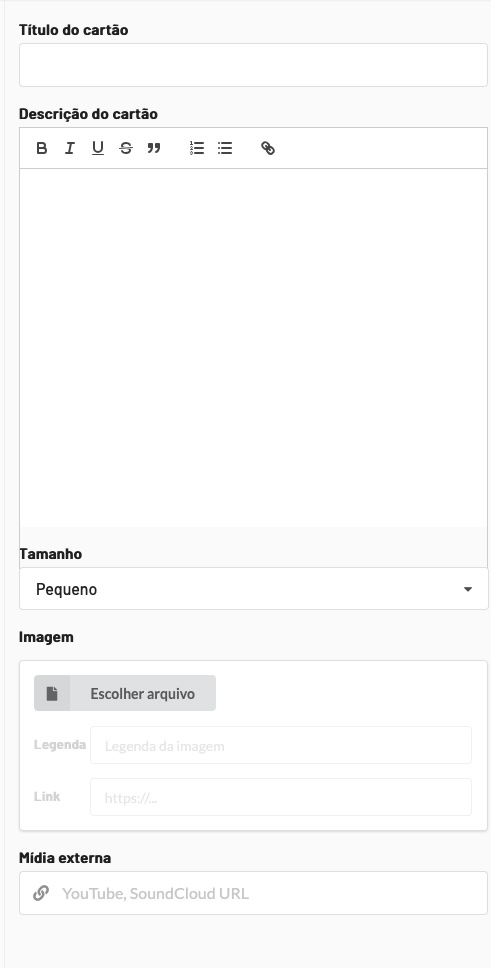
Aqui você criará cada um dos seus cartões e fará o upload das suas imagens e links
Here you'll create each of your cards and upload your images and links
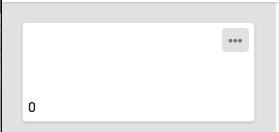
Para criar um novo cartāo, clique nos tres pontos no canto superior direito.
Você terá três opções
- criar
- copiar
- excluir
To create a new card, click the three dots in the upper-right corner.
You will have three options
- create
- copy
- delete
Título do cartão — insira aqui um título para o seu cartão.
Descrição do cartão — aqui você escreve o texto para o seu cartão. Esse texto aparecerá ao lado do seu mapa do Rio.
Tamanho - escolha o tamanho da sua imagem
- Tela cheia significa que sua imagem ocupará toda a tela e o mapa do imagineRio ficará quase completamente coberto.
- Médio significa que a caixa de texto ocupará metade da tela e o mapa do imagineRio ocupará o restante.
- Pequeno significa que o mapa do imagineRio será o elemento visual mais importante do seu cartão, enquanto o texto será menor e poderá ser rolado para cima no mapa.
Imagem -- Certifique-se de adicionar uma legenda para sua imagem, bem como o link para seu repositório.
Mídia externa -- Se desejar adicionar mídia externa, como um videoclipe, você pode adicioná-la aqui.
Card Title — Enter a title for your card here.
Card Description — Here you can write the text for your card. This text will appear next to your map of Rio.
Size — Choose the size of your image
- Full Screen means your image will fill the entire screen, and the imagineRio map will be almost completely covered.
- Medium means the text box will take up half the screen, and the imagineRio map will take up the rest.
- Small means the imagineRio map will be the most prominent visual element on your card, while the text will be smaller and may be scrolled up on the map.
Image -- Be sure to add a caption for your image, as well as a link to its source.
External media -- If you’d like to add external media, such as a video clip, you can add it here.
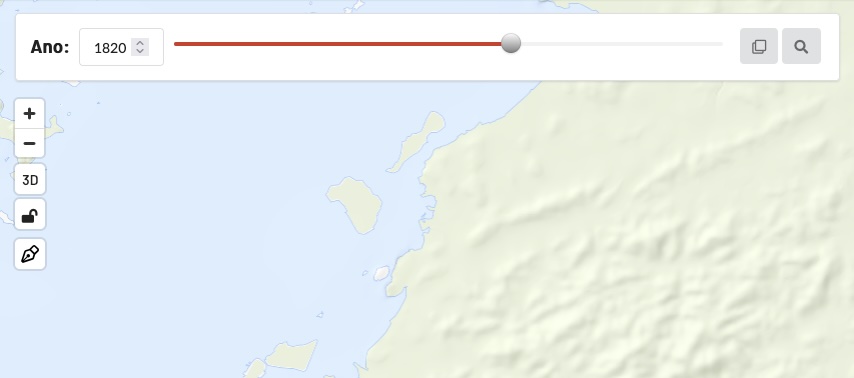
No painel do mapa, defina a data. Eu selecionei 1820, mas você vai escolher a data de sua historia.
In the map panel, set the date. I selected 1820, but you'll choose the date for your story.
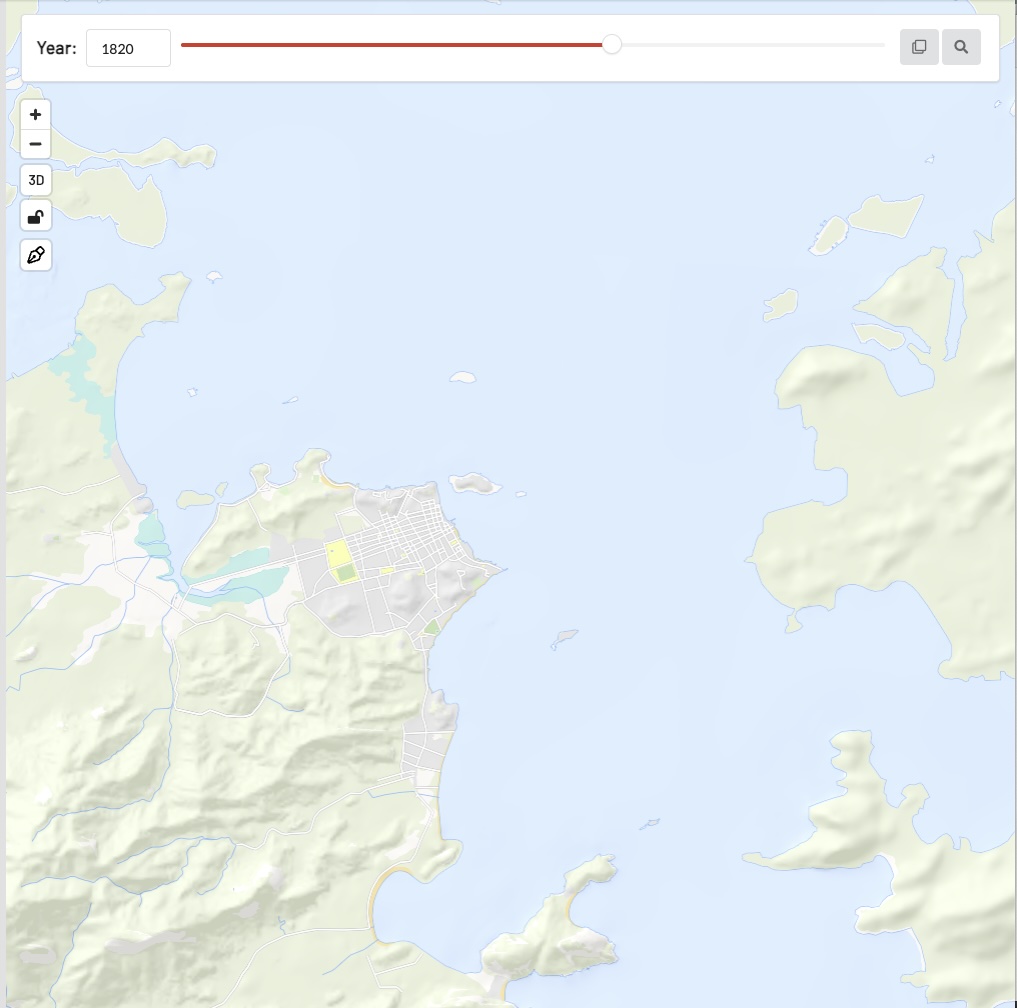
Em seguida, oriente o mapa da maneira que desejar. Eu optei por focar na cidade central, mais você vai escolher a parte da cidade once acontece sua historia.
Você pode ampliar e reduzir (use o botão de rolagem do mouse), mover o mapa para a direita ou esquerda, para cima ou para baixo usando o mouse (clique e mova na direção desejada) e pode girar e inclinar usando as teclas Shift e Control com o mouse.
Você também pode usar os botões no canto superior esquerdo:
+ - 3D para orientar o mapa.
Quando o mapa estiver do jeito que você deseja, clique no cadeado.
Next, orient the map however you like. I chose to focus on the central city, but you’ll want to choose the part of the city where your story takes place.
You can zoom in and out (use the mouse scroll wheel), move the map to the right or left, up or down using the mouse (click and drag in the desired direction), and rotate and tilt it using the Shift and Control keys along with the mouse.
You can also use the buttons in the upper-left corner:
+ - 3D to rotate the map.
Once the map is positioned the way you want it, click the padlock icon.
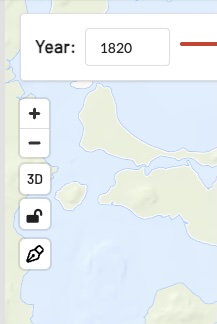
Clique na caneta. Você terá três opções:
- Linha
- Polígono
- Ponto
Depois de desenhar sua linha, polígono ou colocar seu ponto, certifique-se de identificá-lo. A caixa de identificação fica na parte inferior e disse “Nova anotação” até escrever suas próprias palavras.
Exemplos de pontos: Convento Santa Teresa; Chafariz da Carioca
Exemplos de linhas: Aqueduto da Carioca; Arcos da Lapa
Exemplo de um polígono: Morro de Santo Antônio
Clique novamente na caneta para fechar a tela de edição. Você verá suas anotações. Revise conforme necessário.
Quando estiver satisfeito, clique no cadeado para salvar a configuração do mapa.
Click on the pen. You’ll have three options:
- Line
- Polygon
- Point
After drawing your line or polygon, or placing your point, be sure to label it. The label box is at the bottom and says “New annotation” until you type your own words.
Examples of points: Santa Teresa Convent; Carioca Fountain
Examples of lines: Carioca Aqueduct; Lapa Arches
Example of a polygon: Morro de Santo Antônio
Click the pen again to close the editing screen. You’ll see your annotations. Review them as needed.
When you’re satisfied, click the padlock icon to save the map settings.
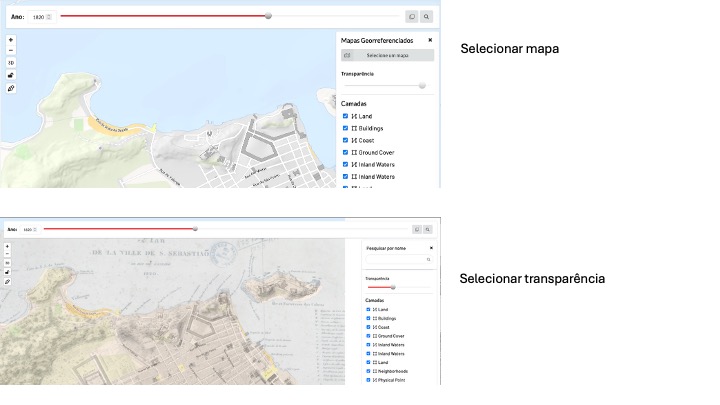
Um mapa georreferenciado é um mapa histórico que é fixado em coordenadas geográficas modernas. Isso permite realizar pesquisas espaciais detalhadas a partir de mapas históricos. O imagineRio possui 97 mapas georreferenciados e estamos sempre adicionando mais.
Para adicionar um, clique no ícone de camadas no canto superior direito do controle deslizante de data.
A georeferenced map is a historical map that has been aligned with modern geographic coordinates. This allows for detailed spatial analysis using historical maps. imagineRio has 97 georeferenced maps, and we are always adding more.
To add one, click the layers icon in the upper-right corner of the date slider.
Os mapas históricos contêm uma grande quantidade de informações espaciais. Mas é preciso ter cuidado.
Aqui, um novo polígono é desenhado para o Morro de Santo Antônio, conforme aparece neste mapa histórico. Da mesma forma, um ponto é colocado no meio do Passeio Público, com base no mapa histórico.
O mapa fica bonito!
Mas ao trabalhar com o imagineRio, aprendemos que desenhar diretamente a partir de mapas históricos introduz imprecisões. Sempre há pequenas distorções. As informações no mapa base do imagineRio tendem a estar geograficamente mais corretas do que pontos, linhas e polígonos desenhados a partir de um mapa georreferenciado. Isso porque, ao desenhar nosso mapa base, consultamos mapas históricos, mas desenhamos atributos a partir de imagens de satélite sempre que possível. Mesmo assim, lembre-se de que o imagineRio é um documento histórico e cultural; ele não foi projetado para precisão científica.
Historical maps contain a wealth of spatial information. But we must be careful.
Here, a new polygon is drawn for Morro de Santo Antônio, as shown on this historical map. Similarly, a point is placed in the middle of Passeio Público, based on the historical map.
The map looks great!
But while working with imagineRio, we’ve learned that drawing directly from historical maps introduces inaccuracies. There are always slight distortions. The information on the imagineRio base map tends to be geographically more accurate than points, lines, and polygons drawn from a georeferenced map. This is because, when drawing our base map, we consulted historical maps but drew features based on satellite imagery whenever possible. Even so, remember that imagineRio is a historical and cultural document; it was not designed for scientific precision.
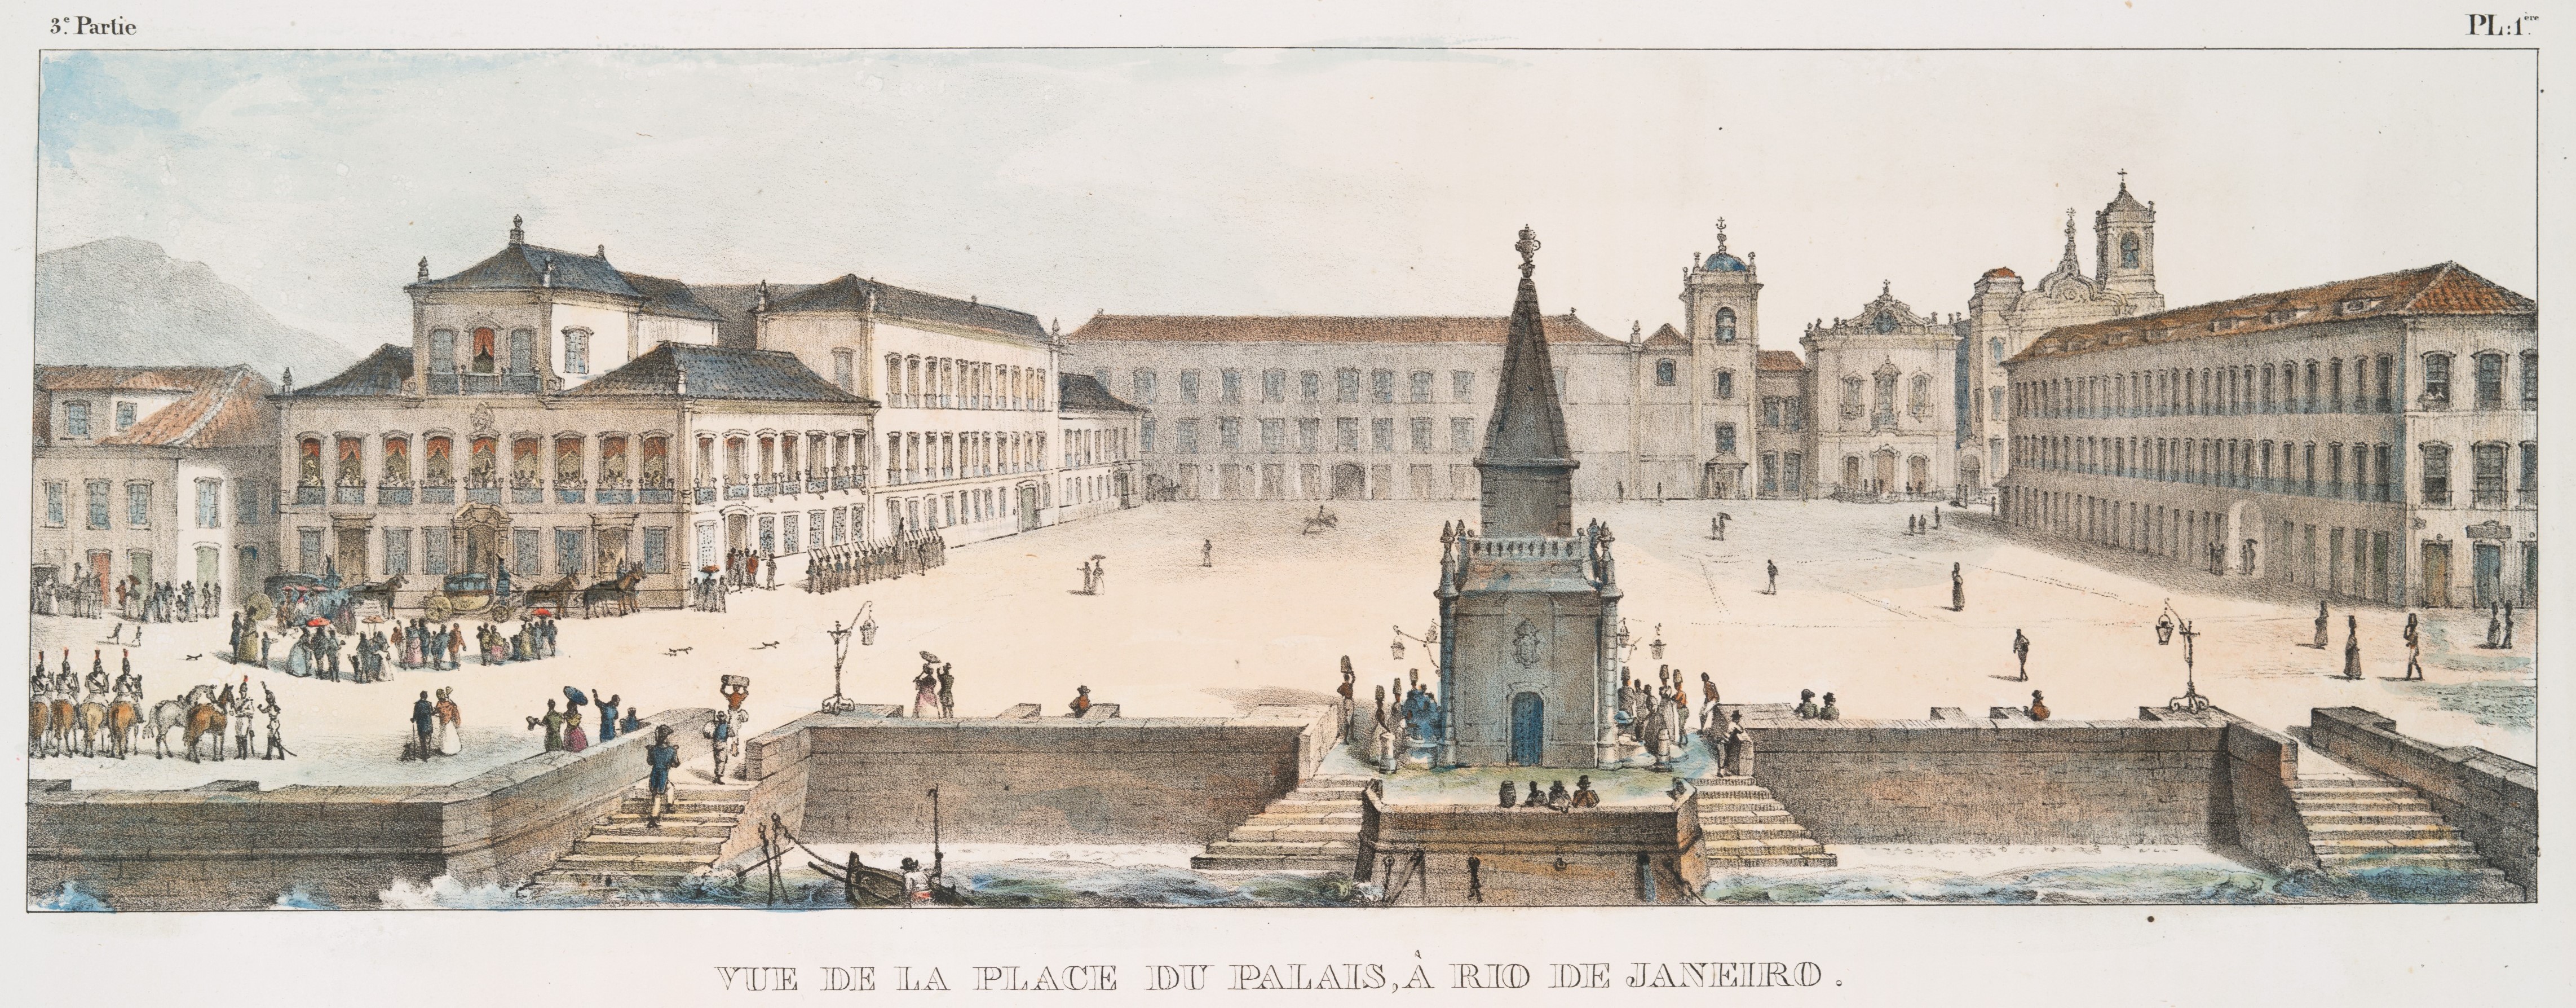
Você precisará editar sua narrativa com cuidado. Seja paciente! Às vezes, você encontrará erros no App, especialmente se sua conexão com a internet for lenta.
Mas continue!
Depois de revisar tudo cuidadosamente, você poderá enviá-la para publicação. Certifique-se de que está do jeito que você quer — use a visualização — antes de enviá-la.
O próximo cartão mostrará como enviá-la para publicação.
You'll need to edit your story carefully. Be patient! Sometimes you'll find errors in the app, especially if your internet connection is slow.
But keep going!
After reviewing everything carefully, you can submit it for publication. Make sure it looks the way you want—use the preview—before submitting it.
The next card will show you how to submit it for publication.
Voltar para Minhas histórias
Clique no título da sua história
Na próxima tela, clique em “Enviar publicação para aprovação”.
Go back to My Narratives
Click on the title of your story
On the next screen, click “Submit for approval.”